Why exports die at 99% (and why it matters)
You know the feeling: the export crawls along for an hour, hits 99%, and then fails. That number is misleading. Most editors do the hardest work earlier (decoding, effects, color, scaling), and the “last 1%” is often where they switch to final muxing, writing the last big chunks to disk, closing the file cleanly, and flushing caches. That’s exactly when tiny issues finally matter: a single bad frame, a corrupt audio sample, a full drive, a flaky GPU encode step, or an output path your system can’t finalize.
It matters because blindly re-trying usually repeats the same crash at the same timestamp. Treat 99% as a clue, not a finish line: the project is mostly renderable, and the goal is to identify what’s different about the last stretch—what media appears there, what effects stack peaks there, and what part of the export pipeline gets used only at the end—so your next attempt is a targeted test, not another wasted night.
Save the evidence before you change anything
Your first instinct is to start toggling settings. Don’t—grab evidence while the failure is still repeatable. Export again once, but this time note the exact timestamp where it stops, the codec/container you chose, whether hardware encoding was on, and the output location. Take a screenshot of the error dialog and save the export log (Premiere: Adobe Media Encoder log; Resolve: Deliver job details/log; Final Cut: share error; CapCut: export error prompt). If there’s no log, record your screen for the last minute of the attempt.
Then duplicate the project file and save a “triage” copy. Collect the last 30–60 seconds of timeline media into a new bin/folder if your app supports it. This costs a few minutes now, but it prevents the common trap: making five changes, getting a different failure, and no longer knowing what actually helped.
Rule out the boring system culprits first
Before you blame a “mystery clip,” clear the dull stuff that causes end-of-export failure. Check free space on every drive involved: your export destination, your media drive, and the drive holding cache/scratch files. Aim for tens of gigabytes free, not “a little room,” because the last step may write peaks, temp files, and the final file footer all at once. If you’re exporting to an external drive, confirm it’s not going to sleep and that the connection is stable.
Then remove friction: export to a simple local folder with a short path and plain characters, and confirm you have permission to write there. Clear or relocate cache if it’s huge or on a nearly-full system drive. If you’re using GPU acceleration or hardware encoding, do one test export with it off (or switch to software-only) and reboot once—drivers and long renders don’t always mix. These checks are boring, but they eliminate a lot of repeatable 99% crashes fast.
Find the exact frame where it breaks
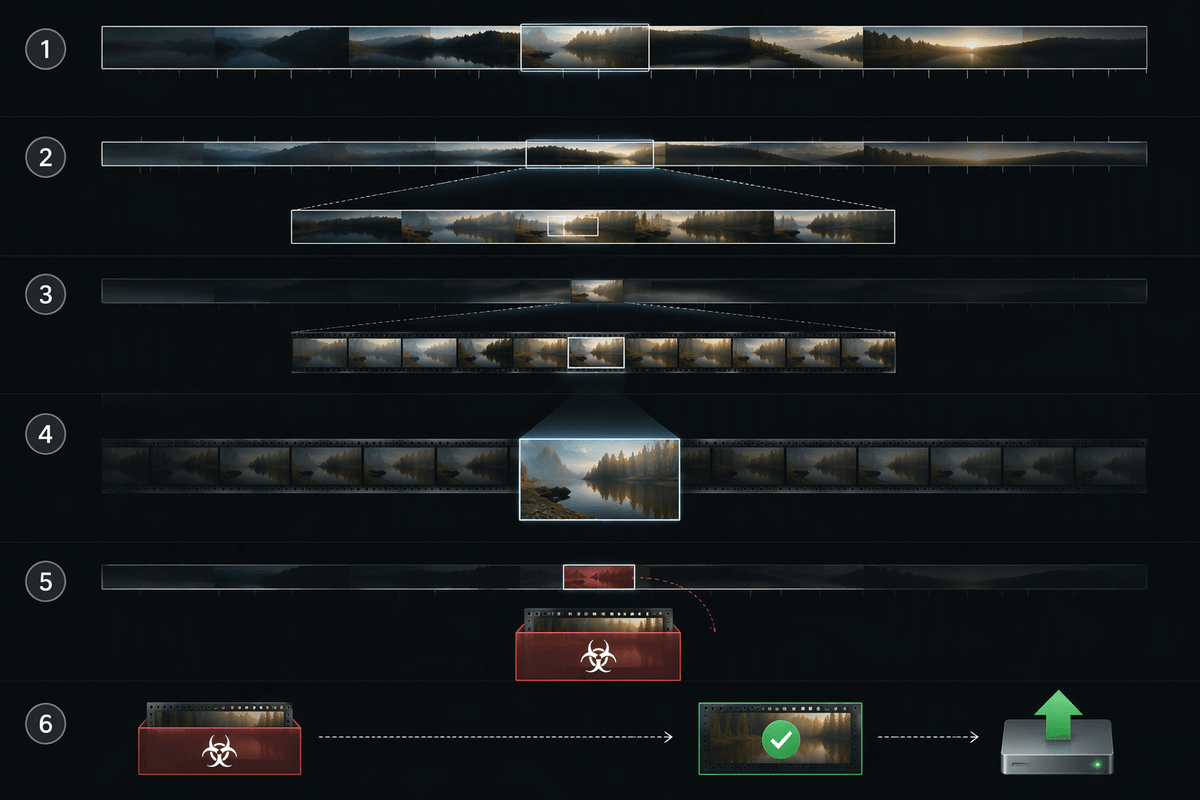
When the export fails at the same point twice, assume something in that exact moment is poisonous until proven otherwise. Use the timestamp you wrote down and set In/Out points to export only the last 10–20 seconds around the failure. If that tiny range still crashes, cut it in half and try again. Keep narrowing until you’re exporting a 1–2 second window, then step frame-by-frame through that spot and look for the usual suspects: a clip that was speed-ramped, an adjustment layer with heavy effects, a still image at a weird size, a title with animated fonts, or an audio clip with a bad decode.
Once you’ve trapped the offender, isolate it. Temporarily disable effects on that clip, replace it with a simple color matte, or render it out to an intermediate file and re-import it. Expect some cost here: re-encoding a troublesome segment takes extra time and disk space, but it turns an unpredictable crash into a stable, exportable timeline.
Fix the usual timeline troublemakers
The last stretch of a timeline tends to stack “fragile” stuff: speed changes, noise reduction, stabilization, AI effects, motion blur, and third-party transitions. For one export attempt, simplify that zone on purpose. Disable the heaviest effect layers first (not everything at once), especially on adjustment layers, nested sequences/compound clips, and titles. If you used a dynamic link, live template, or timeline-linked graphic, try rendering that element to a normal video file and replacing it. It’s not elegant, but it removes a whole category of end-of-export surprises.
Also watch for media that looks harmless but breaks decoders: variable frame rate phone footage, screen recordings, odd still-image formats, or a single audio file with a glitch. Replace that one clip with a freshly transcoded version (constant frame rate for video, WAV for audio), or pre-render it to a mezzanine codec and cut it back in. The cost is extra disk space and a bit of quality management, but it usually beats re-exporting blind for hours.
Change export strategy without lowering quality blindly
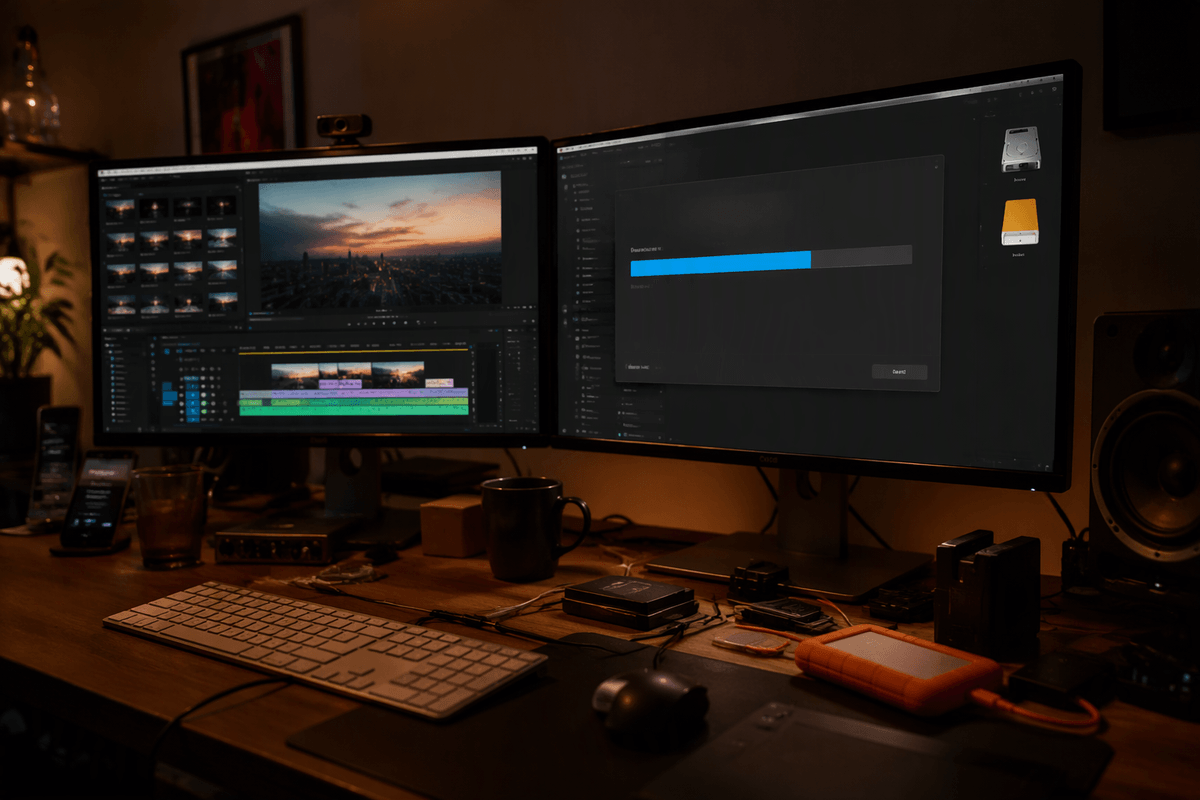
You’ll eventually hit a project where nothing is “wrong,” but the export pipeline is fragile. Instead of dropping bitrate and hoping, change the route. If you’re exporting H.264/H.265 straight from the timeline, try a two-step: export a high-quality intermediate first (ProRes, DNxHR, or a high-bitrate intraframe option your app supports), then encode the delivery file from that intermediate. It often avoids the exact end-of-export muxing and hardware-encode edge cases that show up at 99%.
If the intermediate succeeds but the final MP4 fails, switch containers and paths: export to MOV instead of MP4 (or the reverse), and write to a different local drive. If you need hardware encoding for speed, do one “safety” pass with software encoding just to get the file out. You’ll spend extra time and disk space, but you’ll keep quality predictable and you’ll learn which stage is actually crashing.
If it still fails: a sane escalation path
When you’ve isolated the time range, tried software-only, and exported an intermediate, stop cycling random toggles. Make a tiny “repro package”: the triage project, the exact failing timestamp, your export preset, and a 10–20 second trimmed version that still fails. Then escalate in layers: update or roll back your GPU driver (pick one change), try the same project on another machine or user account, and test a different app’s encoder for the intermediate. If it still breaks, send that repro package to support or a freelancer—paying for one hour of expert eyes is cheaper than losing a deadline.