Why iPhone Photos Turn Out Blurry
Blurry iPhone photos do not always mean the camera is damaged. In many cases, the lens has fingerprints on it, the phone focused on the wrong subject, or the camera moved slightly while taking the picture. Dim lighting makes blur more likely because the iPhone needs more time to capture enough light, so even a small hand movement can soften the image.
Zoom can also reduce detail, especially when you move beyond the camera’s optical range and the phone enlarges the image digitally. Processing, camera settings, and objects moving through the frame may add to the problem. The useful approach is to identify what kind of blur you see—softness across the whole image, a sharp background with a blurry subject, or streaks from movement—before assuming the hardware needs repair.
Start With the Camera Lens
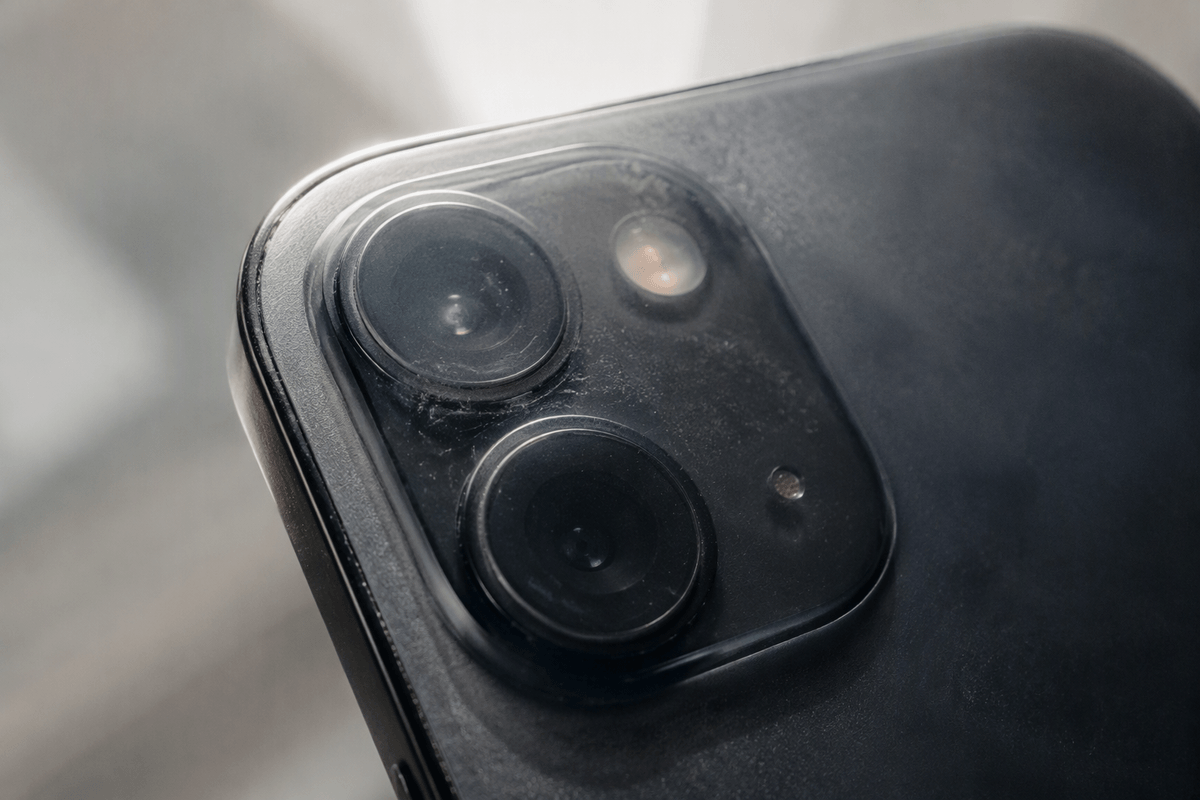
Start with the simplest check: clean the camera lens. Fingerprints, skin oil, dust, and fine smudges can spread light across the frame and make every photo look hazy. This is especially noticeable around lights, windows, or bright outdoor scenes. A lens can look clean at a glance and still have enough residue to reduce detail.
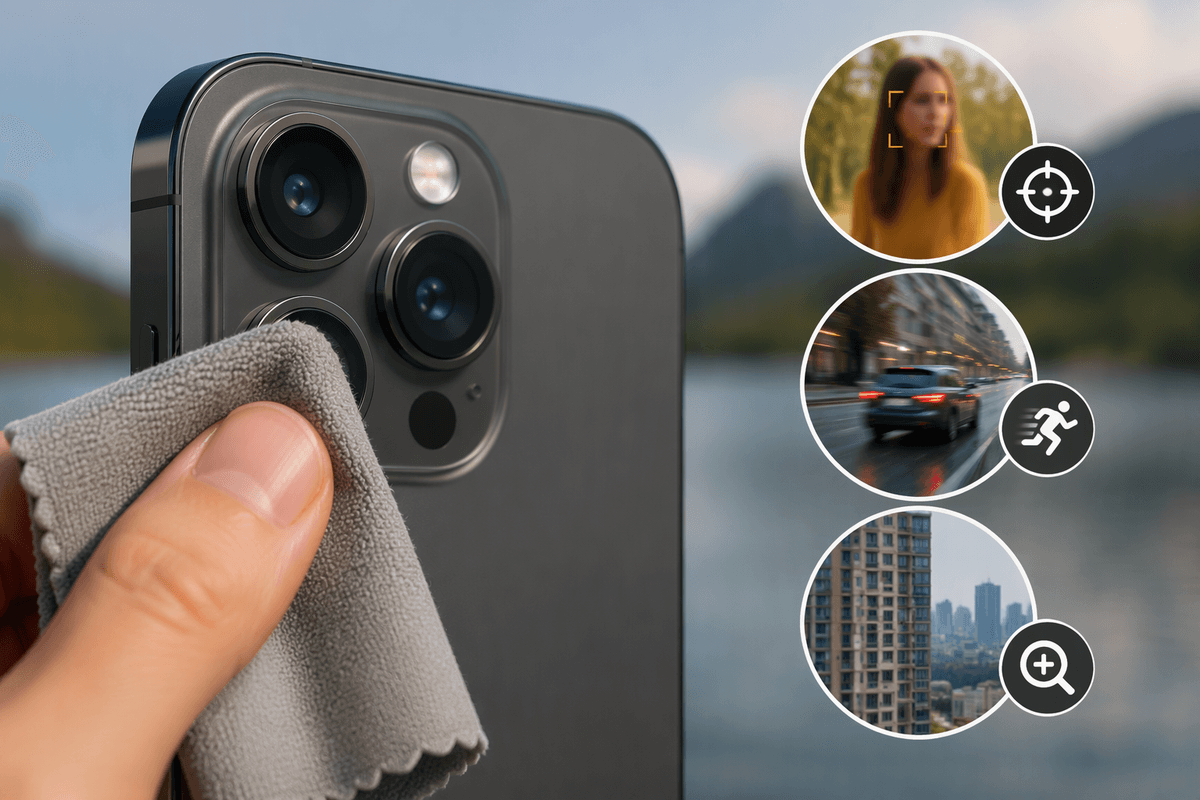
Remove any case or camera protector that overlaps the lens, then wipe the lens gently with a clean microfiber cloth. Avoid paper towels, clothing, or harsh cleaners, which can leave fibers or damage coatings over time. If your iPhone has multiple rear cameras, clean each lens rather than assuming the one you normally use is the only one affected. Take a test photo before and after cleaning, using the same subject and lighting. If sharpness improves across the entire image, the problem was probably contamination rather than a faulty camera. If photos remain uniformly soft, continue checking focus and shooting conditions before arranging a repair.
Check What the Camera Is Focusing On
A photo can look blurry simply because the iPhone focused on the wrong part of the scene. Before taking the picture, tap the main subject on the screen. A yellow focus box should appear, and the subject should look sharper in the preview. This matters when you are photographing something close in front of a busy background, such as a person near trees or a product on a table. If the background is sharp but the subject is soft, incorrect focus is more likely than a damaged camera.
For a subject that stays in one place, press and hold the subject until “AE/AF Lock” appears. This prevents the focus from shifting when you reframe the shot. Release the lock when you move to a different subject or distance. Also check whether the phone is too close: the camera may struggle to focus at very short distances, so move back slightly and try again. Take several test photos while tapping different areas of the frame. If the camera consistently refuses to focus, hunts back and forth, or leaves both near and distant subjects soft in good lighting, the problem may involve the focusing hardware rather than technique.
Look for Motion and Low Light
Motion blur usually leaves a different pattern from focus problems: edges may appear stretched, doubled, or smeared in the direction the phone or subject moved. This often happens when photographing children, pets, vehicles, or people indoors. Hold the iPhone with both hands, keep your elbows close to your body, and press the shutter gently rather than tapping forcefully. Ask a subject to pause briefly when possible. If several photos are available, compare them; a single sharp frame among blurry ones usually points to movement, not camera failure.
Low light makes this harder because the camera needs more time to gather enough light. You may see blur even when the phone seems steady, especially in a dim room or after sunset. Turn on Night mode when it appears, keep the phone still until the capture finishes, and use a nearby light instead of relying on digital zoom. Night mode cannot freeze a moving subject, so a person may still look soft while the background is clear. If photos are sharp outdoors but repeatedly blurry indoors, improve the lighting and stability before blaming the camera hardware.
Review Zoom, Settings, and Processing
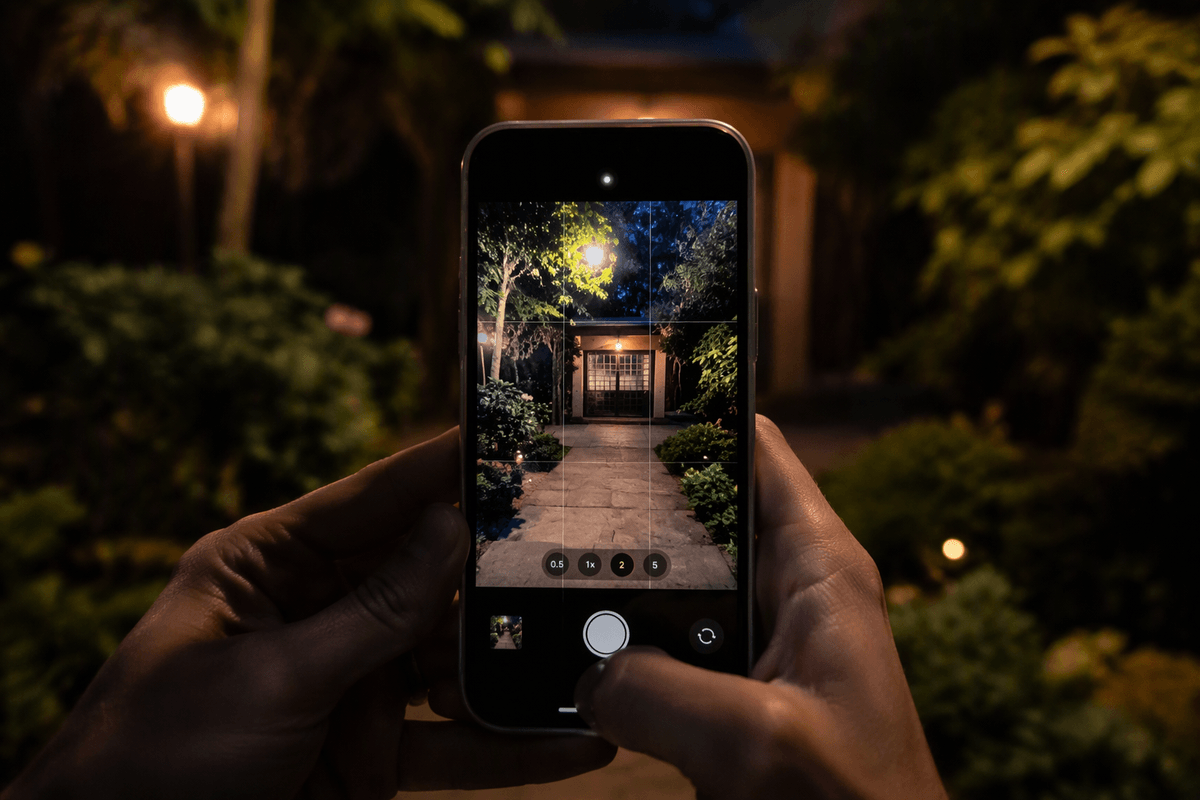
Zoom is another common source of softness. When you pinch in beyond the iPhone’s optical zoom range, the phone enlarges fewer captured details, so fine edges can look smeared or grainy. For a useful test, step closer instead of zooming, or return to 1x and compare the result. Also check whether you are using the correct camera lens for the distance; switching between lenses in dim light can produce uneven sharpness because each lens handles low light differently.
Review settings that may change how the image is captured or processed. If Live Photos, Night mode, or other automatic features are active, keep the phone still for the full capture rather than moving it immediately after pressing the shutter. Compare a blurry image with several ordinary photos taken in the same conditions, not just one heavily edited or cropped image. Cropping, filters, messaging apps, and social media uploads can reduce detail after the photo is taken. If the original photo is sharp in the Photos app but looks blurry elsewhere, the camera is probably working normally and the problem is occurring during editing, resizing, or sharing.
When the Camera Hardware May Be at Fault
Hardware becomes more likely when blur remains consistent after you clean the lenses, improve lighting, avoid zoom, and tap to focus. Test the front and rear cameras separately, then try each rear lens at its normal setting. Photograph a detailed, stationary subject in bright daylight, such as printed text or a building with clear edges. If one camera produces soft images while the others are sharp, that specific lens or its focus system may be damaged.
Look for other warning signs, including a camera that constantly hunts for focus, refuses to focus at any distance, produces unusual dark spots or hazy areas, or shows a rattling lens and visible damage after a drop. Condensation inside the camera area can also affect image quality and may require professional attention. Restart the iPhone and install available system updates before arranging service, since occasional camera behavior can come from software. Avoid opening the phone yourself; damaged seals, delicate camera components, and calibration requirements can turn a small problem into a more expensive repair. If the same lens fails in repeated daylight tests, save a few sample photos and contact Apple or an authorized repair provider.
A Simple Order for Troubleshooting
When a photo is blurry, follow the checks in the same order each time: clean the lens, remove anything covering it, and take a daylight test photo of a stationary subject. Tap the subject to focus, avoid zoom, and hold the iPhone steady. Then compare the front camera with each rear lens. This sequence separates common shooting problems from lens-specific faults without requiring technical knowledge.
If the image improves after one of these changes, repeat that condition in normal use. If blur remains across multiple bright daylight tests, one camera consistently fails to focus, or the phone shows damage or condensation, arrange professional service. Keep the original test photos so you can show the repair provider exactly what the camera is doing.