Start With a Simple Test Print
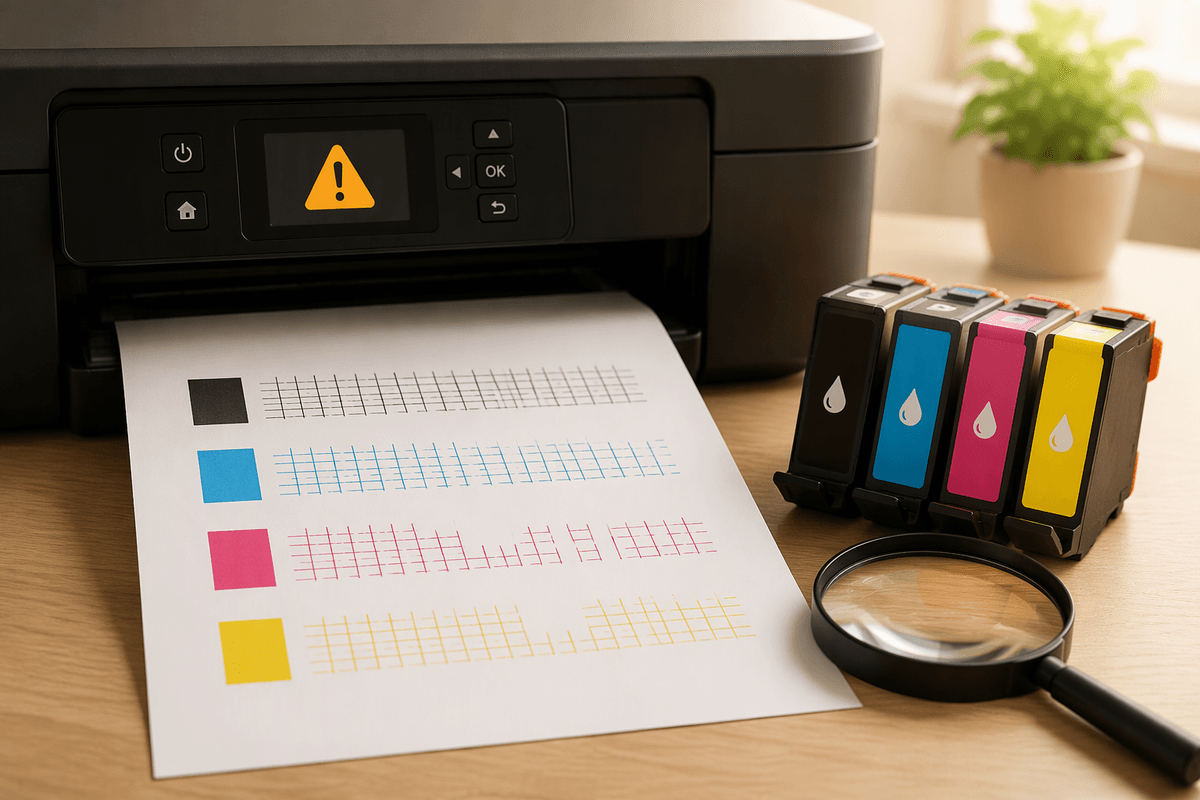
When a document comes out blank, start with the printer’s built-in test page rather than printing the same file repeatedly. Use the control panel, printer app, or maintenance menu to print a nozzle check, print-quality report, or alignment page. This removes variables such as an empty document, white text, unusual page settings, or a driver problem. Let the page finish before starting another print job, then inspect whether it contains any black or color marks.
A completely blank test page points toward the ink supply, cartridge contact, printhead, or another printer-side fault. If only one color is missing, the problem is more likely limited to that cartridge or its corresponding nozzle group. Record what the pattern looks like before changing settings or running cleaning cycles. That simple observation gives you a baseline and helps prevent wasting ink on repeated, unnecessary maintenance.
Check Whether the Printer Is Actually Printing
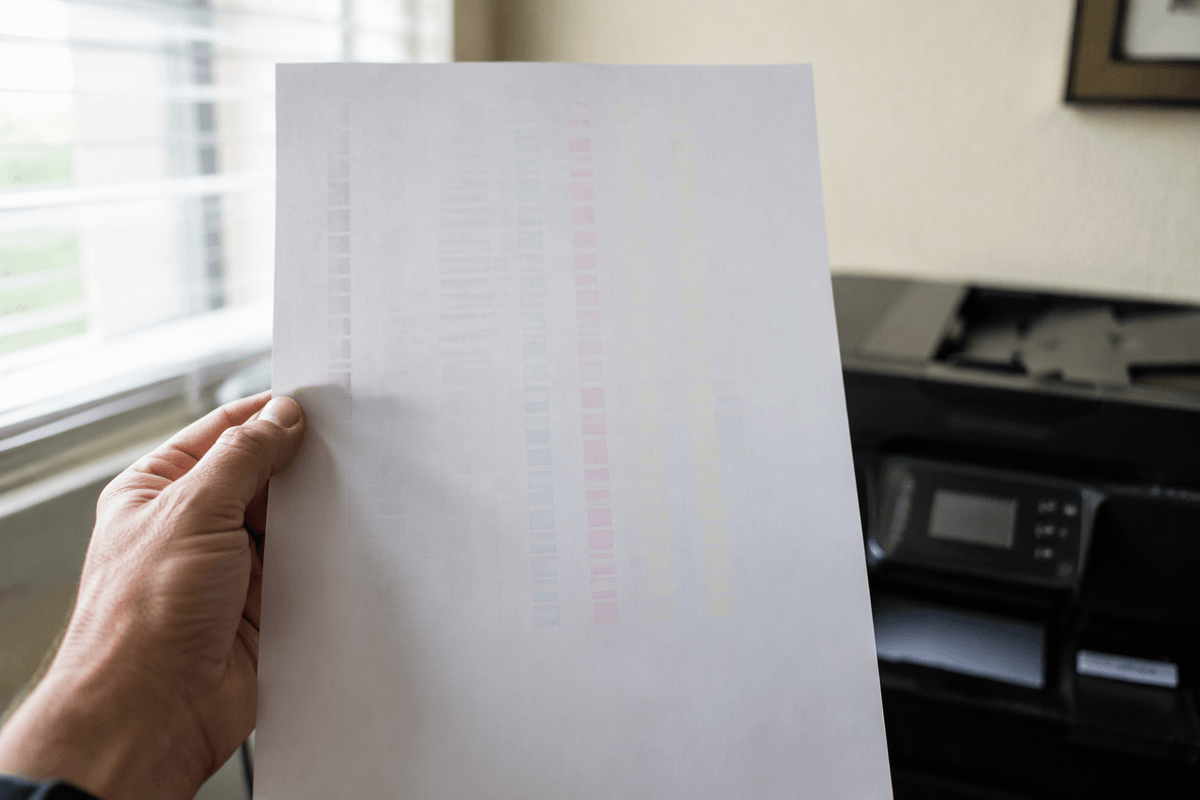
A page that looks blank is not always completely blank. Hold it under a bright light or tilt it toward a window and check for faint gray lines, partial characters, or narrow bands of color. A weak, uneven mark usually means the printer is delivering at least some ink, which points more toward clogged nozzles, poor cartridge flow, or a cartridge that is nearly empty. A clean sheet with no trace of ink suggests a more basic supply or hardware problem.
Confirm that the test page came from the printer’s own maintenance menu, not from a computer application. If the built-in page prints normally but documents from the computer are blank, check the selected printer, paper size, color settings, and whether white text or an empty page range was chosen. If the built-in page is blank, open the printer’s status screen and check each cartridge. Look for low or empty levels, protective tape left on a new cartridge, and warnings that a cartridge is not recognized. Turn the printer off, reseat the cartridges firmly, and run the test again before moving to printhead cleaning.
Read the Pattern One Color at a Time
Read the test pattern one color at a time instead of judging the page as a whole. Most nozzle checks print separate sections for black, cyan, magenta, and yellow. A solid, evenly spaced pattern means that color is reaching the paper normally. Missing lines, broken blocks, or a completely absent section show that the related nozzle group is not delivering ink properly.
The pattern can also separate a cartridge problem from a broader printhead issue. If only magenta is missing, check that cartridge for low ink, a blocked vent, protective tape, or poor seating. If every color is faint or absent, focus on the shared printhead, cartridge contacts, or ink delivery system. Repeated white gaps through one color usually suggest clogged nozzles rather than a wrong document setting. Keep in mind that some printers create black areas by combining color inks, while others use a dedicated black cartridge, so a missing color may affect more than one part of the page. Take a photo or note the exact missing sections before running maintenance.
Decide Between Settings and Ink Supply
Once the missing color is identified, decide whether the printer is failing to receive ink or simply being told not to use it. Check the printer’s status screen for empty, incompatible, or unrecognized cartridges, but treat displayed levels as a guide rather than proof. Some cartridges report inaccurate levels, especially after refilling, while others stop printing when their chip is not recognized. Remove the affected cartridge, confirm that its protective seal is gone and its vent is clear, then reinstall it until it clicks into place.
Settings are more likely when the built-in test page is normal but computer documents are blank or missing one color. Check that the correct printer is selected, color printing is enabled, and the driver is not set to black-only, grayscale, draft, or an unusual paper mode. If the printer’s own test pattern is also missing ink, changing document settings will not solve it. Replace a genuinely empty or faulty cartridge first; if every cartridge is affected, avoid buying a full set immediately and inspect the shared printhead and ink contacts instead.
Use Cleaning Cycles Without Making Things Worse
Run a standard printhead cleaning cycle only after checking the cartridges and recording the original test pattern. Use the printer’s own maintenance menu, not a generic computer utility, and wait for the cycle to finish before printing another nozzle check. One normal cleaning may clear dried ink or small air gaps. If the pattern improves, stop and let the printer rest briefly before confirming it with another test page.
Repeated cleaning is not harmless. Each cycle uses a noticeable amount of ink, fills the waste-ink absorber, and can make a nearly empty cartridge fail sooner. If two or three standard cycles produce no change, stop rather than selecting the strongest or deep-cleaning option repeatedly. Check the manual for any required waiting period, because some printers need several minutes between cycles for ink to settle. A deep clean is reasonable when all colors are faint and the cartridges are known to be good, but it should be treated as a final maintenance attempt, not a routine fix. If the page remains completely blank afterward, further cleaning is unlikely to solve a missing electrical connection, failed printhead, or blocked ink path.
Know When the Test Points to Hardware
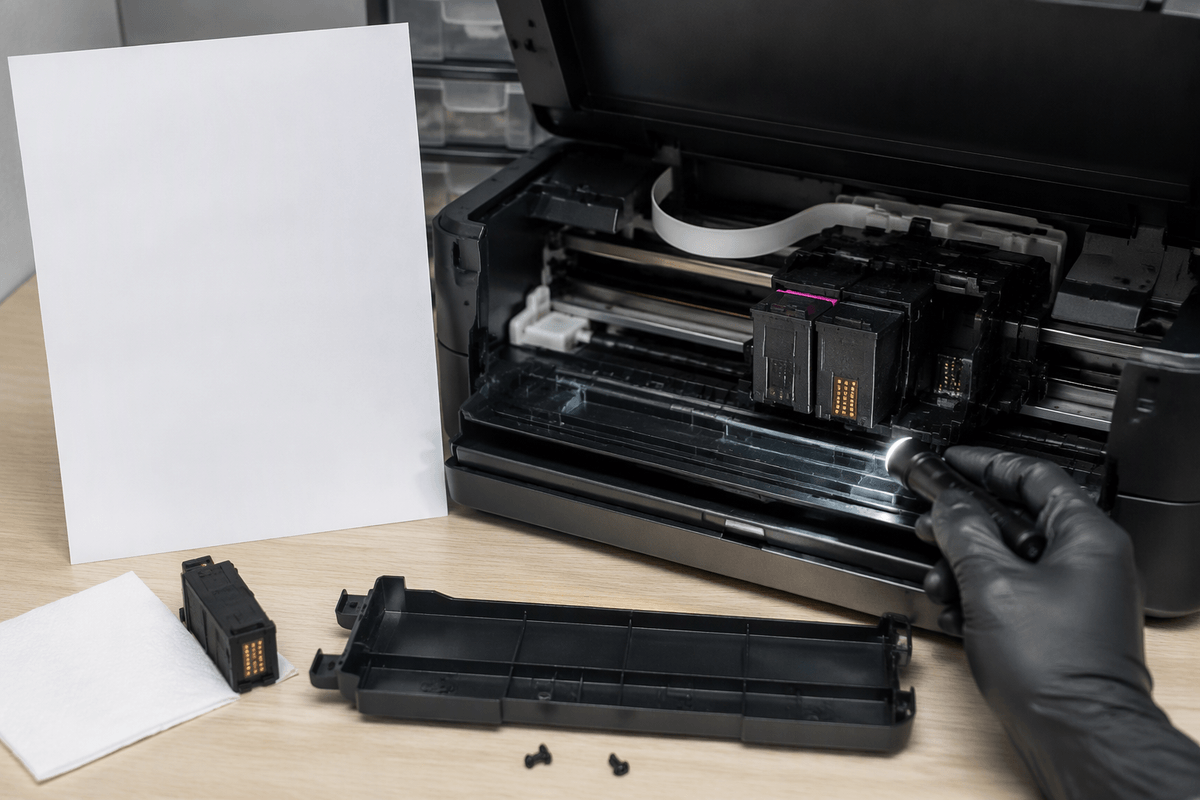
Hardware becomes the more likely cause when a fresh cartridge is recognized, seated correctly, and still produces no improvement after one or two standard cleanings. A completely blank nozzle check across every color is especially significant, because it suggests that ink is not reaching the printhead or that the printhead is not firing. Other warning signs include repeated cartridge-contact errors, a carriage that stops or moves unevenly, grinding or clicking sounds, ink leaking inside the printer, or a test pattern that changes randomly from one attempt to the next.
Before calling for repair, inspect the visible cartridge contacts and the area beneath the printhead for dried ink or debris, but do not scrape the nozzles or pour liquid into the printer. Unplug the printer before cleaning accessible contacts with a dry, lint-free cloth, then allow everything to dry before testing again. If the printer remains blank with known-good cartridges, the likely faults include a failed printhead, damaged cable, ink pump, or control board. Repair may cost more than an older home printer is worth, so compare the service estimate with the price of a replacement before ordering expensive parts.
Let the Result Guide the Next Step
Use the latest test page to choose one focused action rather than trying every possible fix. If one color is still missing, replace or reseat that cartridge and check its vent and contacts. If the pattern shows broken lines but some improvement after cleaning, allow the printer to rest and run one final nozzle check. If the page is completely blank with recognized, known-good cartridges, stop spending ink and arrange service or compare repair costs with replacement. When the test page is normal but computer documents remain blank, return to the driver, printer selection, and document settings instead.
Keep the final test page or a photo of it with your notes. This record makes changes easier to evaluate and gives a repair technician useful evidence. The goal is not simply to produce one lucky page; it is to identify whether the failure follows the cartridge, the settings, or the printer itself.